WSL - Docker with GPU enabled (Nvidia)
Ok, I know it's not a new thing to be able to run complicated ML / AI software such as Tensorflow or Deepstack on Windows and make use of your Nvidia GPU - but what if you want to run a Docker container inside of WSL and have GPU loveliness available to you there? YES you can do it, and here are the steps to get it working.
TL;DR
- DO NOT install Docker Desktop! We're going to install Docker ourselves inside of Ubuntu.
- DO install Windows 10 Insider Build or Windows 11 Beta.
- DO install WSL 2 w/Ubuntu 20.04 or equivalent
- DO install Nvidia CUDA package (NOT Cuda Toolkit)
- DO install Docker manually inside of WSL2/Ubuntu
- DO install Nvidia Container Toolkit inside of WSL2/Ubuntu
- DO run N-body simulation CUDA samples, Jupyter with Tensorflow
- DO let your imagination run wild!
Let's start at the end - when you're finished with what I'm about to teach you, you'll be able to run this Nvidia CUDA test, on a container using your GPU, from inside of your WSL Linux distro (mine is Ubuntu 20.04). First up is the CPU -only variation:
greg@gregbo:~$ docker run --gpus all nvcr.io/nvidia/k8s/cuda-sample:nbody nbody -cpu -benchmark

> 1 Devices used for simulation
> Simulation with CPU
4096 bodies, total time for 10 iterations: 2779.572 ms
= 0.060 billion interactions per second
= 1.207 single-precision GFLOP/s at 20 flops per interaction
And here is the same test, but using the GPU this time:
greg@gregbo:~$ docker run --gpus all nvcr.io/nvidia/k8s/cuda-sample:nbody nbody -gpu -benchmark

GPU Device 0: "Ampere" with compute capability 8.6

> Compute 8.6 CUDA device: [NVIDIA GeForce RTX 3080]
69632 bodies, total time for 10 iterations: 57.380 ms
= 845.003 billion interactions per second
= 16900.066 single-precision GFLOP/s at 20 flops per interaction
HUGE difference, huh? How do you do that? Here's how!
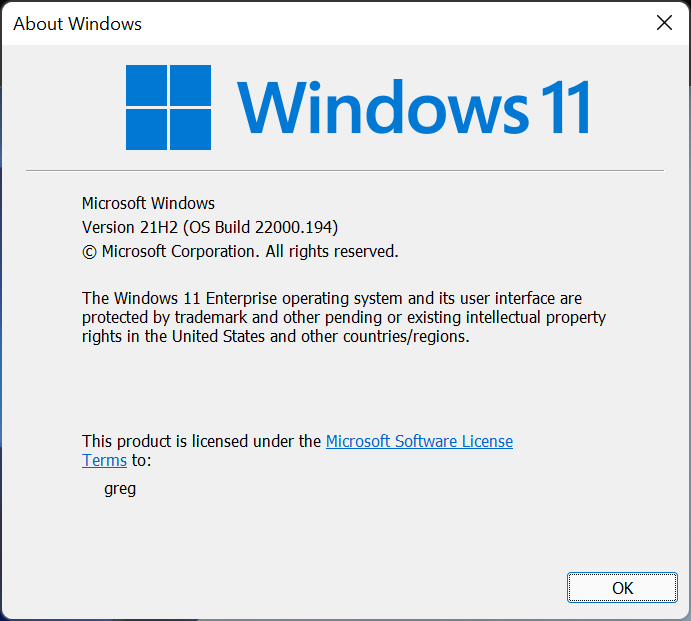
1. Install or upgrade to Windows 10 Preview, or Win 11 Beta.
You cannot make use of the GPU in WSL 2 unless you're running an Insider build of Windows 10, or a beta build of Windows 11. I know, it's a hassle, but believe me, it's worth it, and Win 11 is scheduled for public release in a few weeks so it's a small price to pay. Here's my winver: 22000.194
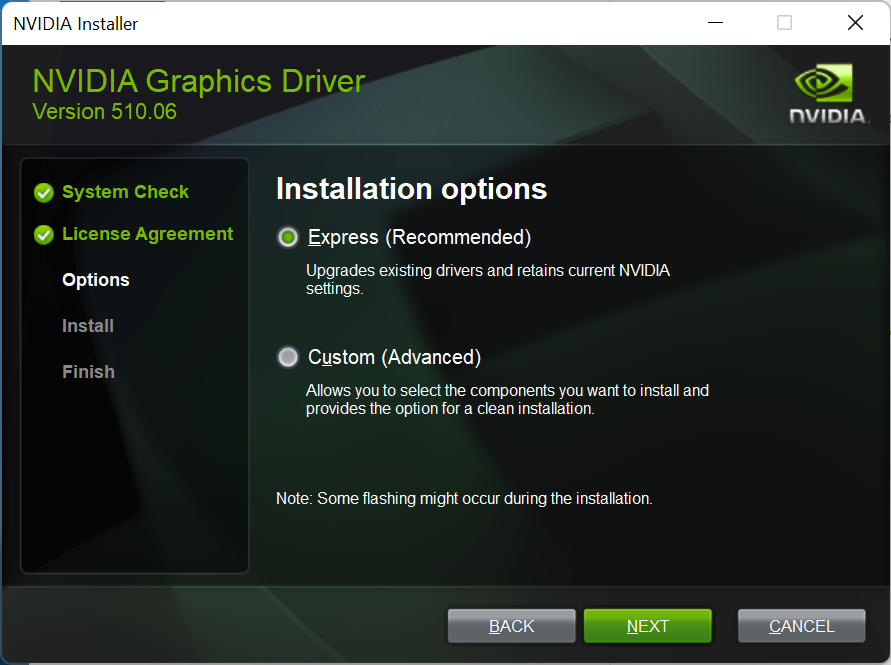
2. Install Nvidia drivers for CUDA
Download the software directly from Nvidia using this link - all you have to do is sign up for the Nvidia Developer Program and you're set. 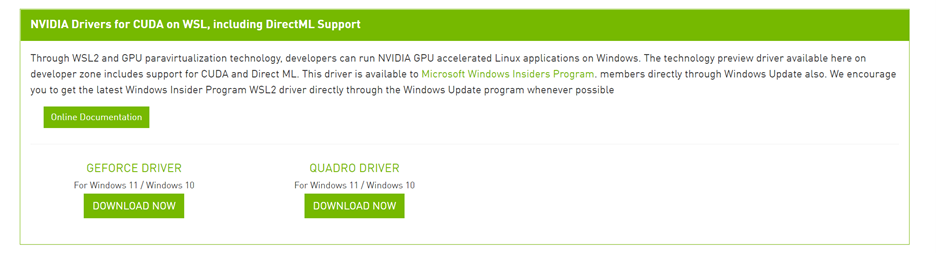 I have an Nvidia GeForce RTX 3080 and my download package was 510.06_gameready_win11_win10-dch_64bit_international.exe. IMPORTANT: This replaces your existing graphic adapter software.
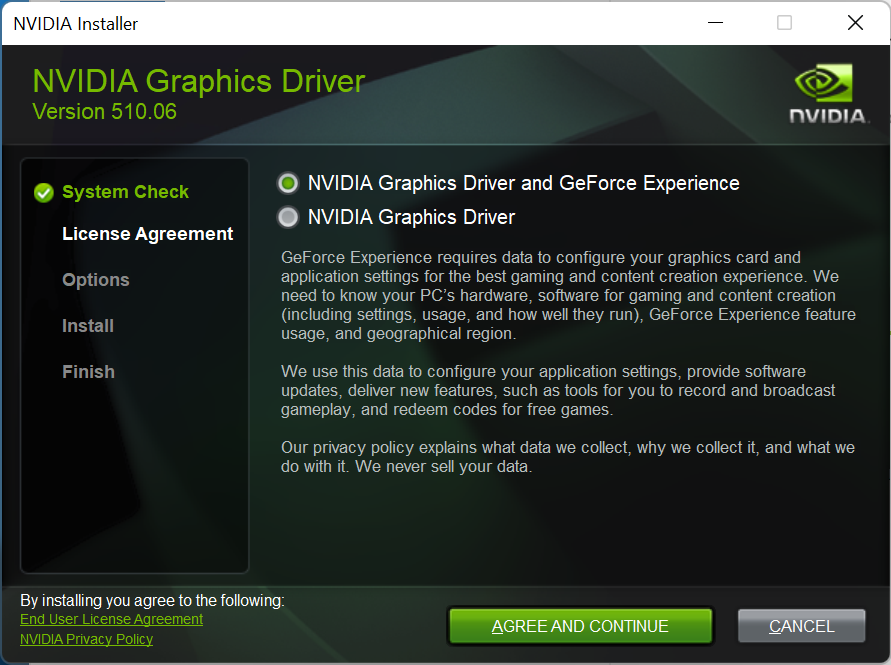
Here are some more screen shots in case it helps:
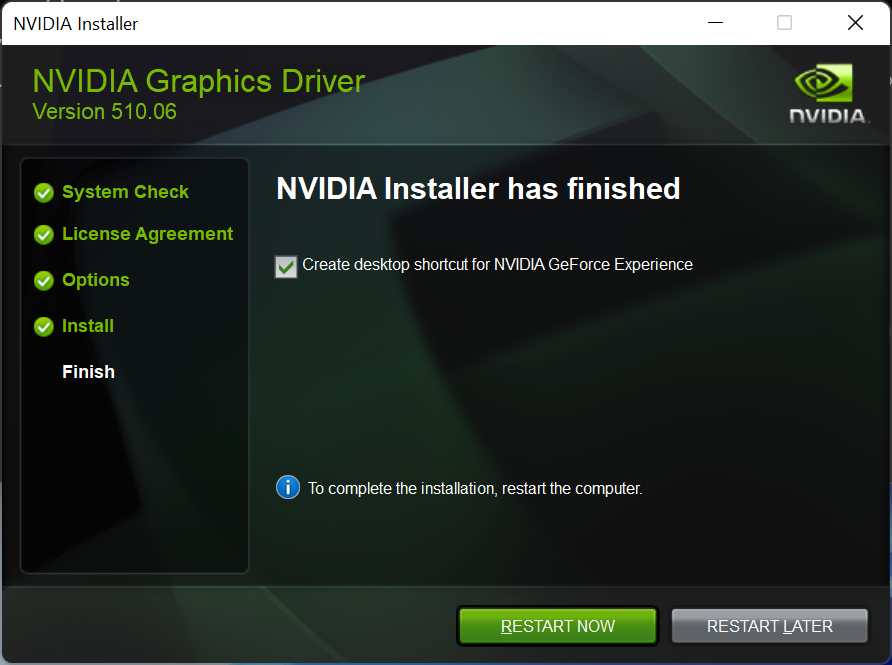
Reboot now, and then carry on...
3. Install WSL 2 and your fave Linux distro
You know what to do here - I went ahead and set up Windows Terminal, and mostly use Ubuntu 20.04 but there are other options. The main thing is when you run this command, you get a "2" in the VERSION column!
C:\Users\greg>wsl.exe --list -v
  NAME            STATE           VERSION
* Ubuntu-20.04    Running         2
4. Set up CUDA Toolkit
Nvidia recommends that you use the Linux package manager to install CUDA (not CUDA Toolkit) under WSL 2. This is because CUDA Toolkit comes packaged with Nvidia's Linux GPU driver which must not be installed under WSL 2. So follow these directions carefully.
Run the following commands (one at a time, of course):
wget https://developer.download.nvidia.com/compute/cuda/repos/wsl-ubuntu/x86_64/cuda-wsl-ubuntu.pin

sudo mv cuda-wsl-ubuntu.pin /etc/apt/preferences.d/cuda-repository-pin-600

wget https://developer.download.nvidia.com/compute/cuda/11.4.0/local_installers/cuda-repo-wsl-ubuntu-11-4-local_11.4.0-1_amd64.deb

sudo dpkg -i cuda-repo-wsl-ubuntu-11-4-local_11.4.0-1_amd64.deb

sudo apt-key add /var/cuda-repo-wsl-ubuntu-11-4-local/7fa2af80.pub

sudo apt-get update

sudo apt-get -y install cuda
5. Running CUDA applications
At this point you can run CUDA apps exactly as you would under any other installation of Linux!
For example, you can build and run the BlackScholes sample application:
cd /usr/local/cuda-11.4/samples/4_Finance/BlackScholes

then:

sudo make BlackScholes

then:

./BlackScholes
[./BlackScholes] - Starting...
GPU Device 0: "Ampere" with compute capability 8.6

Initializing data...
...allocating CPU memory for options.
...allocating GPU memory for options.
...generating input data in CPU mem.
...copying input data to GPU mem.
Data init done.

Executing Black-Scholes GPU kernel (512 iterations)...
Options count             : 8000000
BlackScholesGPU() time    : 0.125945 msec
Effective memory bandwidth: 635.196316 GB/s
Gigaoptions per second    : 63.519632

BlackScholes, Throughput = 63.5196 GOptions/s, Time = 0.00013 s, Size = 8000000 options, NumDevsUsed = 1, Workgroup = 128

Reading back GPU results...
Checking the results...
...running CPU calculations.

Comparing the results...
L1 norm: 1.741792E-07
Max absolute error: 1.192093E-05

Shutting down...
...releasing GPU memory.
...releasing CPU memory.
Shutdown done.

[BlackScholes] - Test Summary

NOTE: The CUDA Samples are not meant for performance measurements. Results may vary when GPU Boost is enabled.

Test passed
6. Install Docker
In the bash shell, use this Docker installation script to install Docker:
curl https://get.docker.com | sh
Then, make sure Docker is alive:
docker run hello-world

Hello from Docker!
This message shows that your installation appears to be working correctly.

To generate this message, Docker took the following steps:
 1. The Docker client contacted the Docker daemon.
 2. The Docker daemon pulled the "hello-world" image from the Docker Hub.
    (amd64)
 3. The Docker daemon created a new container from that image which runs the
    executable that produces the output you are currently reading.
 4. The Docker daemon streamed that output to the Docker client, which sent it
    to your terminal.

To try something more ambitious, you can run an Ubuntu container with:
 $ docker run -it ubuntu bash

Share images, automate workflows, and more with a free Docker ID:
 https://hub.docker.com/

For more examples and ideas, visit:
 https://docs.docker.com/get-started/
7. Nvidia Container Toolkit
Instructions here are provider for Ubuntu (run each command separately):
distribution=$(. /etc/os-release;echo $ID$VERSION_ID)

curl -s -L https://nvidia.github.io/nvidia-docker/gpgkey | sudo apt-key add -

curl -s -L https://nvidia.github.io/nvidia-docker/$distribution/nvidia-docker.list | sudo tee /etc/apt/sources.list.d/nvidia-docker.list

curl -s -L https://nvidia.github.io/libnvidia-container/experimental/$distribution/libnvidia-container-experimental.list | sudo tee /etc/apt/sources.list.d/libnvidia-container-experimental.list

sudo apt-get update

sudo apt-get install -y nvidia-docker2
Then, in another WSL 2 window, stop and restart the docker daemon like this:
sudo service docker stop && sudo service docker start
``
8 Use your GPU with everything!
Now you should be able to run the N-body simulation CUDA sample that I showed you at the beginning of this post:
docker run --gpus all nvcr.io/nvidia/k8s/cuda-sample:nbody nbody -gpu -benchmark
Or, you can run a Jupyter notebook example from Tensorflow:
greg@gregbo:~$ docker run -it --gpus all -p 8888:8888 tensorflow/tensorflow:latest-gpu-py3-jupyter

________                               _______________
___  __/__________________________________  ____/__  /________      __
__  /  _  _ \_  __ \_  ___/  __ \_  ___/_  /_   __  /_  __ \_ | /| / /
_  /   /  __/  / / /(__  )/ /_/ /  /   _  __/   _  / / /_/ /_ |/ |/ /
/_/    \___//_/ /_//____/ \____//_/    /_/      /_/  \____/____/|__/


WARNING: You are running this container as root, which can cause new files in
mounted volumes to be created as the root user on your host machine.

To avoid this, run the container by specifying your user's userid:

$ docker run -u $(id -u):$(id -g) args...

[I 01:08:54.379 NotebookApp] Writing notebook server cookie secret to /root/.local/share/jupyter/runtime/notebook_cookie_secret
jupyter_http_over_ws extension initialized. Listening on /http_over_websocket
[I 01:08:54.495 NotebookApp] Serving notebooks from local directory: /tf
[I 01:08:54.495 NotebookApp] The Jupyter Notebook is running at:
[I 01:08:54.495 NotebookApp] http://ad45281857e1:8888/?token=0f5921a7fc66ea3d244bbc962dfe9256da396929d013f940
[I 01:08:54.495 NotebookApp]  or http://127.0.0.1:8888/?token=0f5921a7fc66ea3d244bbc962dfe9256da396929d013f940
[I 01:08:54.495 NotebookApp] Use Control-C to stop this server and shut down all kernels (twice to skip confirmation).
[C 01:08:54.498 NotebookApp]

    To access the notebook, open this file in a browser:
        file:///root/.local/share/jupyter/runtime/nbserver-1-open.html
    Or copy and paste one of these URLs:
        http://ad45281857e1:8888/?token=0f5921a7fc66ea3d244bbc962dfe9256da396929d013f940
     or http://127.0.0.1:8888/?token=0f5921a7fc66ea3d244bbc962dfe9256da396929d013f940```
And when you open the link in your browser, voila! Jupyter and Tensorflow!
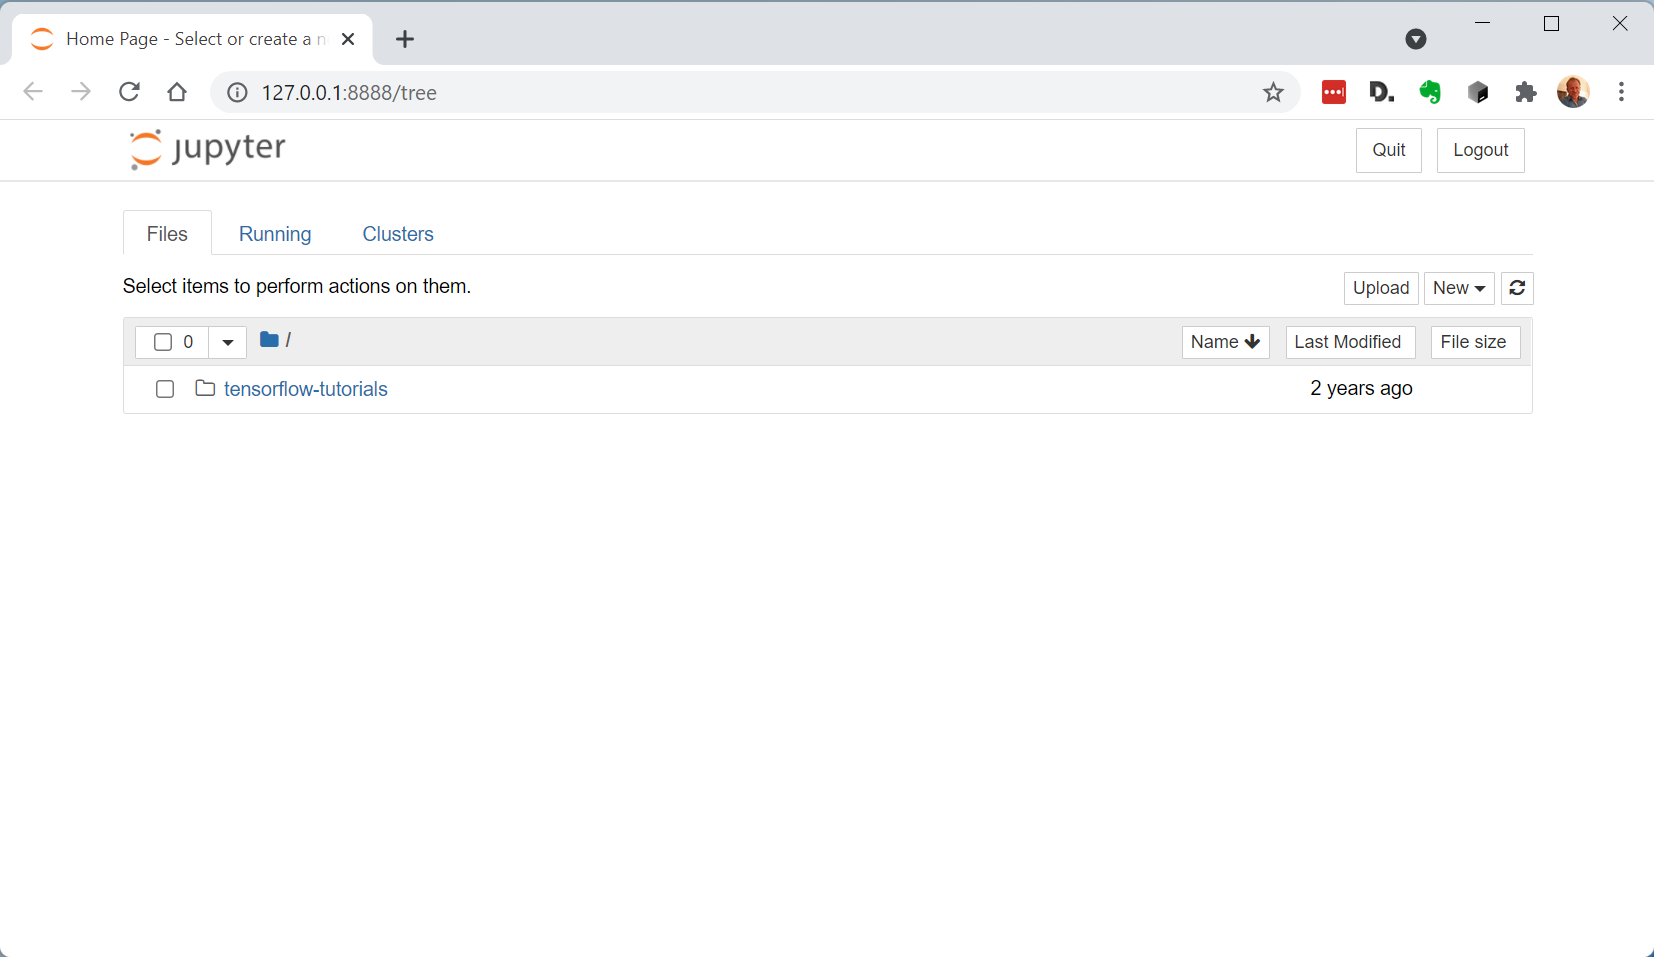
The End
I really enjoyed figuring this stuff out and hopefully you find it useful. Please let me know what you think in the comments, and subscribe to my newsletter!
Thanks!